This blog is generated from material covered in the PM professional development session: "DIY Instrumental Repair Hacks" presented by Randy Beardon
Table of contents
- Introduction
- Essential Tools for Clarinet Cork Replacement
- Step-by-Step Guide to Replacing Clarinet Tenon Cork
- Tips for Success and Common Pitfalls
- The Impact of Proper Maintenance on Music Education
- Expanding Your Instrument Repair Skills
- Conclusion: Empowering Educators for Musical Success
Introduction
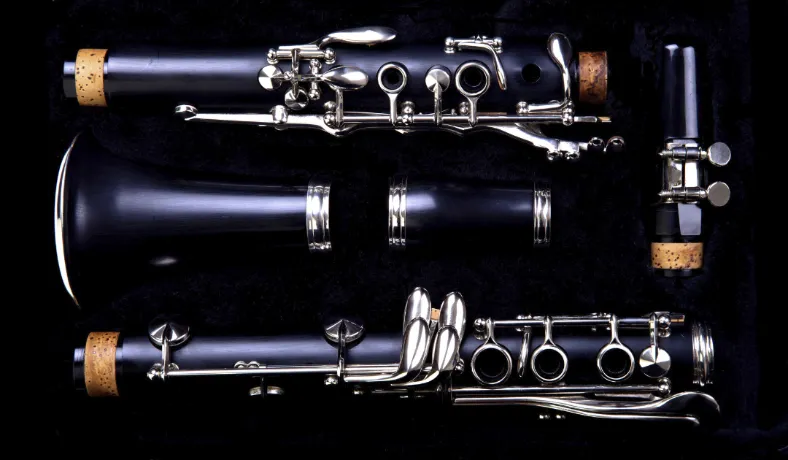
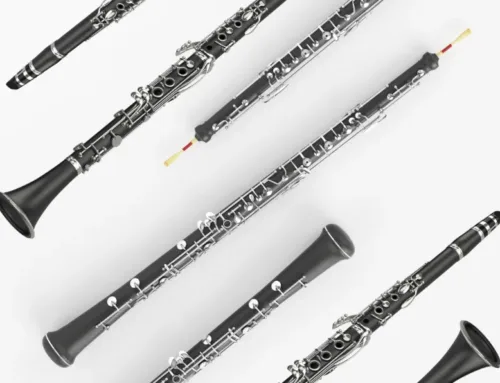
As a music educator, mastering DIY clarinet cork replacement is a crucial skill that directly impacts your students' ability to learn and perform. This comprehensive guide will walk you through the process of replacing clarinet cork, empowering you with the knowledge and skills to maintain your instruments and keep the music flowing.
Clarinet cork replacement is not only a cost-effective solution but also ensures that your students have properly functioning instruments. By learning this essential maintenance technique, you'll be able to focus on developing your students' musical abilities rather than grappling with equipment issues.
Essential Tools for Clarinet Cork Replacement
Before diving into the repair process, gather the following tools:
1. Pliers (duck-bill and standard)
2. Cork slab (1.2mm or 1/16 inch thickness)
3. 5-6 inch metal ruler
4. 220 grit sandpaper
5. Small screwdriver
6. Contact cement
7. Cork grease
8. Razor blade
9. Steel wool
Step-by-Step Guide to Replacing Clarinet Tenon Cork
Removing the Old Cork
1. Open your pliers and gently grip the old cork.
2. Twist back and forth while pulling to remove the cork.
3. Use the pliers’ teeth to scrape off any remaining glue.
4. Clean the tenon with steel wool to remove residual adhesive.
Note of caution: When using pliers to remove old cork, be extremely careful to avoid damaging the clarinet. Consider using a cork removal tool designed specifically for this purpose as a safer alternative.
Preparing the Tenon
1. Use a razor blade to carefully remove any stubborn glue residue.
2. Ensure the tenon surface is clean and smooth.

Measuring and Cutting the New Cork
1. Measure the space between the grooves on the tenon.
2. Transfer this measurement to your cork slab.
3. Score the cork with your ruler and cut it with a razor blade.

Applying the New Cork
1. Apply contact cement to the tenon grooves and one side of the cork strip.
2. Allow the glue to become tacky (10-15 minutes).
3. Carefully wrap the cork around the tenon, aligning it with the grooves.
4. Press firmly to ensure good adhesion.
5. Trim excess cork with a razor blade.


Sanding and Fitting
1. Cut a 5-6 inch strip of 220 grit sandpaper.
2. Wrap the sandpaper around the cork, applying light pressure.
3. Rotate the clarinet while sanding to ensure even removal.
4. Test the fit frequently with the barrel or neck piece.
5. Continue sanding until you achieve a snug fit.
6. Apply cork grease and work it into the new cork.


Tips for Success and Common Pitfalls
1. Patience is key: Take your time, especially when sanding the new cork.
2. Test frequently: Check the fit often to avoid over-sanding.
3. Use quality materials: Invest in good cork and contact cement for lasting results.
4. Practice makes perfect: Your first attempt may not be flawless, but you’ll improve with experience.
5. Maintain cleanliness: Keep your work area clean to avoid debris getting stuck in the new cork.
Remember, DIY clarinet cork replacement is a skill that improves with practice. Don’t be discouraged if your first attempt isn’t perfect – each repair will make you more proficient.
The Impact of Proper Maintenance on Music Education
Mastering DIY clarinet cork replacement has far-reaching benefits for your music program:
1. Cost savings: Reducing the need for professional repairs allows you to allocate funds to other areas of your program.
2. Improved instrument reliability: Well-maintained instruments are less likely to fail during crucial performances or practice sessions.
3. Enhanced learning experience: Students with properly functioning instruments can focus on developing their musical skills rather than struggling with equipment issues.
4. Teachable moments: Use repair sessions as opportunities to educate students about instrument care and maintenance.
5. Increased program efficiency: Quick in-house repairs mean less downtime for instruments and more time for music-making.
[Image suggestion: A music educator demonstrating cork replacement to a small group of attentive students]
By incorporating instrument maintenance into your music education curriculum, you’re not only ensuring the longevity of your program’s instruments but also instilling valuable skills and responsibility in your students.
Expanding Your Instrument Repair Skills
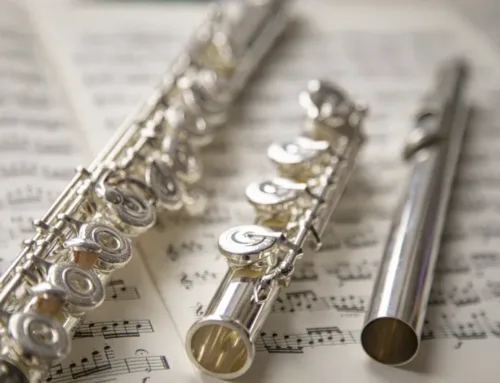
While clarinet cork replacement is an excellent starting point, consider expanding your repair skills to other instruments and common issues:
1. Saxophone neck cork replacement
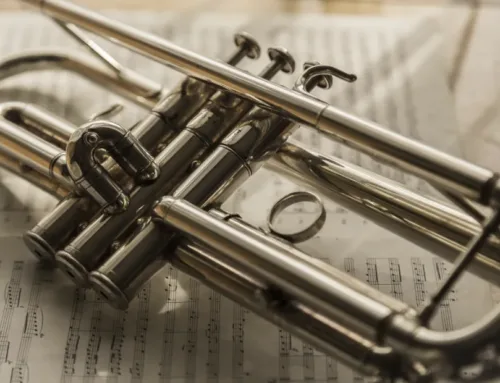
3. Brass instrument valve maintenance
The more repair skills you acquire, the more self-sufficient and effective your music program becomes. For additional resources on instrument repair, visit the National Association of Music Merchants (NAMM) repair guide.
Conclusion: Empowering Educators for Musical Success
Mastering DIY clarinet cork replacement is more than just a cost-saving measure – it’s a way to empower yourself as a music educator and enhance the overall quality of your program. By taking instrument maintenance into your own hands, you’re ensuring that your students have the best possible tools to develop their musical abilities.
Remember, the journey to becoming proficient in instrument repair is ongoing. Embrace each repair as a learning opportunity, and don’t hesitate to seek additional resources or workshops to expand your skills.
As you continue to grow in your role as a music educator and instrument caretaker, consider exploring comprehensive online resources that can support both you and your students in your musical journey. These platforms often offer valuable information on instrument care, maintenance, and even advanced repair techniques.
By investing time in learning and perfecting skills like clarinet cork replacement, you’re not just fixing instruments – you’re fine-tuning the future of music education, one repair at a time.
For those looking to enhance their music education experience, Practicing Musician offers many resources for educators and students. This online platform provides free access to comprehensive instrumental music education, including detailed information on proper instrument care and maintenance. By combining your newfound repair skills with the extensive learning materials available through Practicing Musician, you can create a robust, well-rounded music education program that sets your students up for success.
Interactive Quiz: Test Your Clarinet Cork Replacement Knowledge
How well do you understand the DIY clarinet cork replacement process? Take this quick quiz to find out!
1. What thickness of cork is typically used for clarinet tenon replacement?
a) 0.5mm
b) 1.2mm
c) 2.0mm
d) 3.0mm
2. Which tool is NOT typically used in clarinet cork replacement?
a) Pliers
b) Sandpaper
c) Cork grease
d) Soldering iron
3. What is the purpose of using steel wool in the cork replacement process?
a) To cut the new cork
b) To remove residual adhesive
c) To apply the new cork
d) To grease the new cork
4. How long should you typically wait for contact cement to become tacky before applying the new cork?
a) 1-2 minutes
b) 5-7 minutes
c) 10-15 minutes
d) 30 minutes
5. What grit of sandpaper is recommended for sanding the new cork?
a) 80 grit
b) 150 grit
c) 220 grit
d) 400 grit
[Answers: 1-b, 2-d, 3-b, 4-c, 5-c]
Test your skills and challenge your students with this quiz to reinforce the key points of DIY clarinet cork replacement!


Leave A Comment
You must be logged in to post a comment.