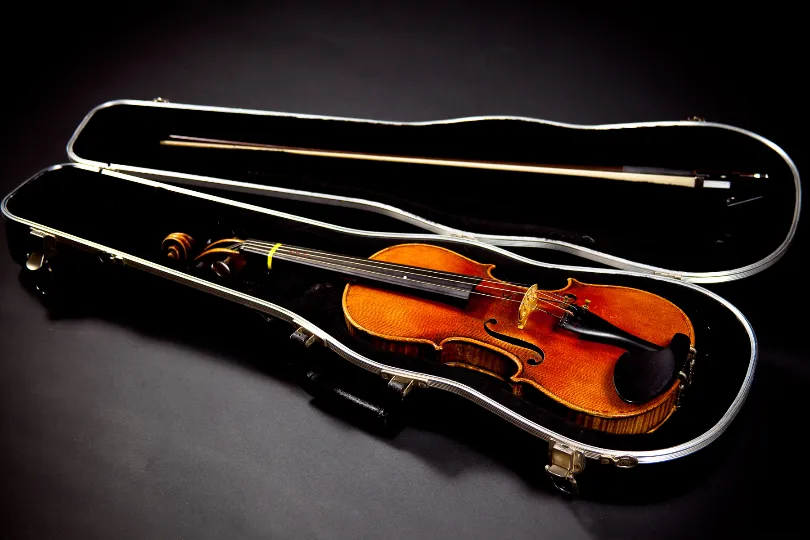
As a passionate violinist, you know that the key to achieving the best sound quality and prolonging the life of your instrument lies in regular cleaning and maintenance. A well-maintained violin not only looks beautiful but also resonates with a rich, warm tone that captivates your audience. In this comprehensive guide, we will walk you through the essential steps to clean your violin, from identifying when it needs attention to using the right tools and techniques to keep it in top shape.
When to Clean Your Violin
Knowing when your instrument needs cleaning is crucial to prevent dirt, rosin, and oil buildup from affecting its sound and appearance. Here are some signs that indicate it is time to give your instrument some TLC:
- Visible dust, fingerprints, or smudges on the body
- Dull or sticky strings
- Accumulation of rosin on the strings and body
- Bow hair appearing dirty or clumped together
Ideally, you should clean your violin after every playing session or at least once a week, depending on how frequently you play. Regular cleaning not only keeps your instrument looking its best but also prevents the buildup of harmful substances that can deteriorate its quality over time.
Essential Tools and Products for Violin Cleaning
Before you begin cleaning your instrument, it is important to gather the necessary tools and products. Here is what you will need:
– Soft, lint-free cloth (microfiber or cotton)
– Violin polish or cleaner (avoid alcohol-based products)
– Fine-bristled brush or toothbrush
– Rosin remover
– String cleaner
– Bow hair cleaner
You can find these items at your local music store or online retailers specializing in violin accessories. Investing in high-quality cleaning products will ensure that your violin receives the best care possible without risking damage.
Step-by-Step Guide to Cleaning Your Violin
Now that you have your cleaning tools ready, let’s dive into the step-by-step process of cleaning your violin.

Step 1: Cleaning the Violin Body
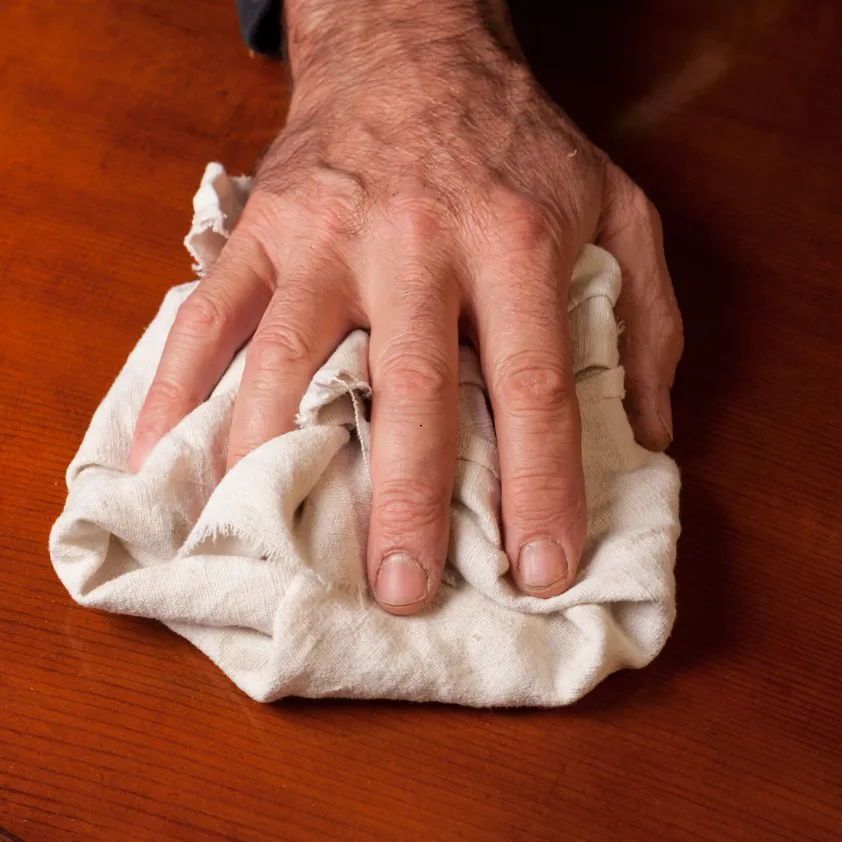
Begin by gently wiping the surface of your violin with a soft, lint-free cloth to remove any dust or fingerprints. Pay extra attention to areas that encounter your hands and chin, as these spots tend to accumulate more oil and dirt.
For stubborn smudges or rosin buildup, use a small amount of violin polish or cleaner on your cloth. Always follow the product instructions and avoid applying the cleaner directly onto the violin. Be careful not to let any moisture seep into the f-holes or get near the bridge, as this can damage the instrument’s delicate interior.
When applying violin polish, use a circular motion and work in small sections. Buff the polish gently until it is fully absorbed into the wood. This will help protect the finish and keep your violin looking shiny and new.
Step 2: Cleaning the Strings
Dirty strings can significantly impact your instrument‘s sound quality, making it crucial to keep them clean. To remove rosin buildup and dirt from your strings, gently run a string cleaner along the length of each string, taking care not to apply too much pressure.
For a more thorough cleaning, you can use a fine-bristled brush or toothbrush to scrub the strings gently. Focus on the areas where the strings meet the bridge and the fingerboard, as these spots are prone to rosin accumulation.
After cleaning the strings, apply a small amount of string lubricant to help prevent future buildup and extend the life of your strings.
Step 3: Cleaning the Bow
A clean bow is essential for producing a clear, smooth sound. To clean your bow hair, start by loosening the bow hair slightly. Then, use a bow hair cleaner or a soft cloth dampened with a small amount of rubbing alcohol to gently wipe the hair from the frog to the tip. Be careful not to let any moisture contact the wooden parts of the bow.
After cleaning, re-tighten the bow hair and use a fine-bristled brush to remove any excess rosin or dirt from the stick and frog.
Step 4: Polishing and Final Touches
Once you have cleaned the body, strings, and bow, give your violin a final polish with a soft, dry cloth. This will help restore its shine and remove any residual cleaning products.
Before putting your instrument back in its case, make sure that all parts are completely dry. If you have a humidifier or dehumidifier, adjust the humidity levels in your case to the recommended range (40-60%) to protect your instrument from extreme moisture or dryness. You can use a hygrometer to monitor the humidity levels inside your case.
“Proper care and maintenance are essential for any instrument, regardless of its value or the skill level of the player,” says renowned violinist and instructor, Sarah Johnson. “Taking the time to clean your instrument regularly not only preserves its beauty but also ensures that it will continue to produce the best possible sound for years to come.”
Preventive Maintenance Tips
In addition to regular cleaning, there are several preventive maintenance steps you can take to keep your violin in optimal condition:
– Store your violin in a sturdy, protective case when not in use
– Avoid exposing your violin to extreme temperatures or humidity
– Loosen the bow hair before storing to prevent warping
– Replace strings regularly, especially if they show signs of wear or corrosion
– Have your violin professionally serviced and adjusted at least once a year

Conclusion
Congratulations! You now have a beautifully clean and well-maintained instrument that is ready to display your musical talents. By following this step-by-step guide regularly and implementing preventive maintenance practices, you will ensure that your instrument remains in top condition, producing the rich, warm tones that you love.
Remember, proper cleaning and maintenance are essential habits for every violinist to develop. If you are looking for more detailed guidance on instrument care or want to enhance your playing skills, consider exploring the online courses and resources offered by Practicing Musician. Our video tutorial below provides instructions on violin cleaning techniques and additional lessons to help you become a better musician.
Getting to Know Your Violin: Cleaning Your Violin
Accessories And Cleaning Supplies
Happy playing, and may your violin always shine as brightly as your passion for music!


Leave A Comment
You must be logged in to post a comment.