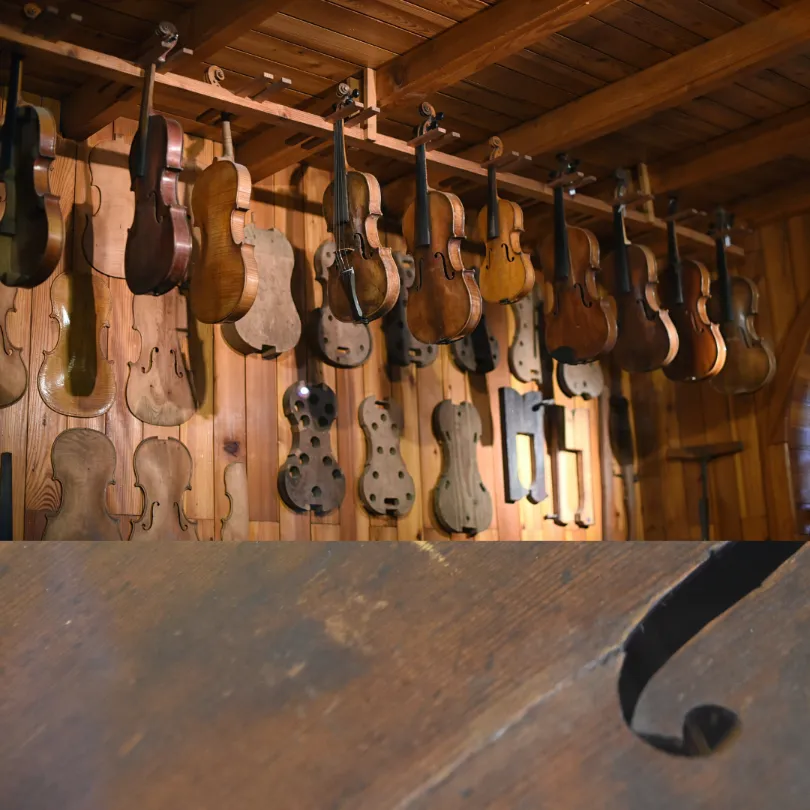
As a string instrument player, you know that your beloved violin, viola, cello, or bass is more than just a musical tool – it’s an extension of your artistic expression. However, over time, even the most well-crafted instruments can develop small cracks or open seams. While these issues may seem daunting, many minor repairs can be tackled with the right knowledge and tools. In this guide, we’ll walk you through identifying damage, determining when to attempt DIY repairs, and providing step-by-step instructions for fixing small cracks and open seams in your string instrument.
Identifying Small Cracks and Open Seams
The first step in repairing your string instrument is to identify the damage. Small cracks and open seams can occur due to several factors, such as changes in humidity, impact, or general wear and tear. Here are some common signs to look out for:
Common Signs of Damage
– Visible hairline cracks in the wood
– Gaps between the top or back plate and the ribs
– Buzzing or rattling sounds when playing
– Changes in tone or projection
For example, a violinist might notice a faint buzzing sound when playing on the G string, indicating a potential open seam near the lower bout.
Assessing Severity
Once you've identified the damage, assess its severity. Hairline cracks that do not penetrate the full thickness of the wood and open seams less than a few millimeters wide are considered minor issues suitable for DIY repair. However, if the crack is deep, long, or affects structural integrity, it's best to consult a professional luthier. A cello with a crack extending from the soundpost to the bridge, for instance, would require expert attention.
When to DIY vs. Seek Professional Repair
While some repairs can be done at home, others require the expertise of a skilled luthier. Here is a general guide:
Simple Repairs to Attempt
– Fixing hairline cracks or open seams less than a few millimeters wide
– Applying touch-up varnish to minor scratches
– Replacing strings or adjusting the bridge
Complex Issues Requiring a Luthier
– Deep or long cracks that affect structural integrity
– Open seams that span a sizable portion of the instrument
– Damage to the neck, fingerboard, or soundpost
– Issues with the bridge or tailpiece
If you are unsure about the severity of the damage or your ability to repair it, always err on the side of caution and consult a professional.
Step-by-Step Repair Instructions
Now that you have determined that your string instrument has a minor issue you can fix, let’s dive into the repair process.
Tools and Materials Needed
– Soft cloths
– Wood glue (hide glue or Titebond)
– Fine sandpaper (220 grit or higher)
– Clamps (for open seams)
– Razor blade or sharp knife (for removing excess glue)
– Touch-up varnish (if needed)

While hide glue is the traditional choice for instrument repair due to its reversibility, some luthiers use Titebond for its strength and ease of use. Choose the adhesive you feel most comfortable working with.
Fixing Small Cracks
1. Clean the area around the crack with a soft cloth to remove dirt and debris.
2. Apply a small amount of wood glue to the crack using a toothpick or fine brush.
3. Wipe away any excess glue with a damp cloth.
4. Allow the glue to dry completely (at least 24 hours).
5. If needed, very lightly sand the repaired area with fine sandpaper to smooth it out.
6. Apply touch-up varnish to blend the repair with the surrounding wood, if necessary.
Repairing Open Seams
1. Clean the area around the open seam with a soft cloth.
2. Apply a thin layer of wood glue along the seam.
3. Clamp the seam closed, using soft cloth between the clamp and the instrument to prevent damage.
4. Wipe away any excess glue with a damp cloth.
5. Allow the glue to dry completely (at least 24 hours) before removing the clamps.
6. If needed, very lightly sand the repaired area with fine sandpaper and apply touch-up varnish, exercising caution.
Remember, sanding or applying varnish should only be attempted with extreme care by novice users to avoid damaging the instrument further. When in doubt, consult a luthier.
Preventive Care Measures
Prevention is key to maintaining your string instrument’s health and longevity. Here are some essential preventive care measures:
Proper Storage and Handling
– Store your instrument in a sturdy case when not in use.
– Use a soft cloth to wipe down your instrument after each playing session.
– Handle your instrument with clean, dry hands.
– Avoid exposing your instrument to extreme temperatures or humidity.
Environmental Factors to Control
– Maintain a consistent temperature and humidity level in your storage area.
– Use a humidifier or dehumidifier as needed to keep relative humidity between 40-60% (this range may vary slightly depending on the specific instrument).
– Avoid placing your string instrument near heat sources, air vents, or windows.
Regular Maintenance Tasks
– Change strings regularly (every 6-12 months, depending on usage). Upright Bass – Cello – Viola – Violin
– Have your bow rehaired every 6-12 months.
– Schedule annual check-ups with a luthier to catch any potential issues early.
By following these preventive care measures, you can minimize the risk of damage and ensure your instrument stays in top playing condition.
Conclusion
Repairing small cracks and open seams in your string instrument may seem intimidating, but with the right knowledge and tools, many minor issues can be resolved at home. Remember to assess the severity of the damage, gather the necessary materials, and follow the step-by-step instructions carefully. If you’re ever unsure or the damage seems extensive, do not hesitate to consult a professional luthier.
Proper preventive care is just as important as knowing how to fix issues when they arise. By storing your instrument correctly, controlling environmental factors, and performing regular maintenance tasks, you can avoid many common problems and extend your instrument’s lifespan.
With patience, attention to detail, and a willingness to learn, you can become more adept at caring for your beloved string instrument, ensuring it remains a cherished partner in your musical journey for years to come.
Frequently Asked Questions
1. Can I use regular wood glue for instrument repairs?
While regular wood glue like Titebond can work for some repairs, many luthiers prefer hide glue for its reversibility and traditional use in instrument making. When in doubt, consult a professional.
2. How often should I humidify my instrument?
The frequency of humidification depends on your local climate and the time of year. Aim to maintain a consistent relative humidity between 40-60% in your instrument storage area, adjusting as needed based on seasonal changes.
3. Can I repair a crack that goes all the way through the wood?
Cracks that penetrate the full thickness of the wood are typically too severe for DIY repair. These issues require the expertise of a skilled luthier to properly address and restore the instrument’s structural integrity.
4. How long does it take for glue to dry when repairing an open seam?
Allow at least 24 hours for the glue to dry completely before removing clamps and handling the instrument. For larger repairs, it is best to wait 48-72 hours (about 3 days) to ensure a strong bond.
5. Should I attempt to repair a damaged bridge myself?
Bridges are complex components that significantly impact an instrument’s sound and playability. Unless you have experience with bridge repairs, it’s advisable to seek the help of a professional luthier to ensure proper fit and function.


Leave A Comment
You must be logged in to post a comment.