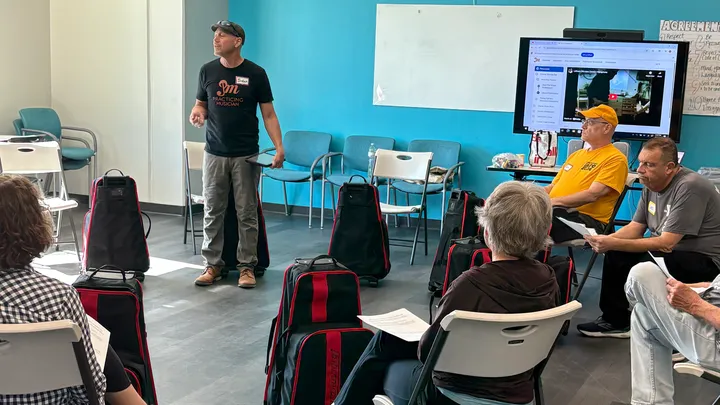
This blog is generated from material covered in the PM professional development session: “DIY Instrumental Repair Hacks” presented by Randy Beardon
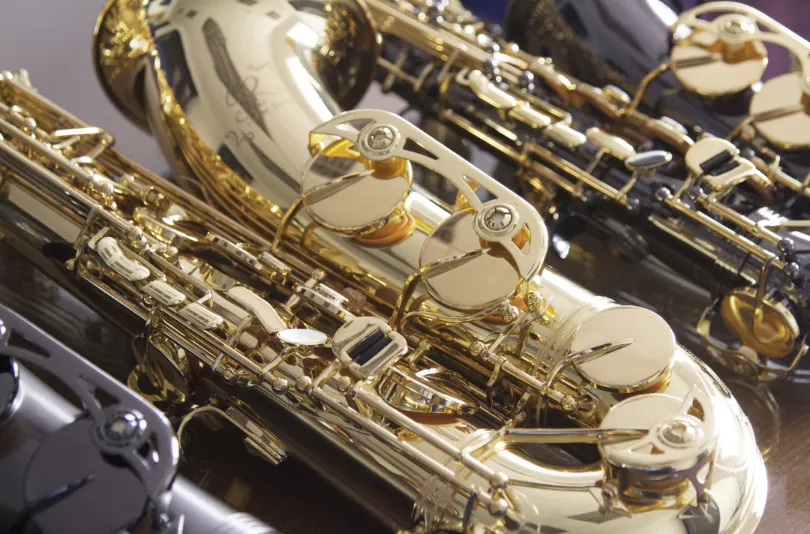
Mastering saxophone repair basics is crucial for any band director. This guide will empower you with the knowledge and confidence to handle common saxophone issues, keeping your rehearsals smooth and your students playing.
Understanding Saxophone Mechanics: The Foundation of Repairs
Before diving into specific repairs, it’s crucial to understand the basics of saxophone mechanics. A saxophone has approximately 88 moving parts, making it a complex instrument with intricate connections between keys and pads. This complexity means that a small issue in one area can affect the instrument’s overall performance.
Key areas to familiarize yourself with include:
– The neck and its connection to the body
– The octave key mechanism
– The upper and lower stacks (left- and right-hand keys)
– The bell keys and low note mechanisms
Understanding these components will help you quickly identify the source of many common problems.
Common Saxophone Issues and Quick Fixes
Let’s explore some of the most frequent saxophone problems you might encounter and how to address them efficiently.
1. Neck Attachment Problems
One of the first issues a student might face is difficulty attaching the neck to the body of the saxophone.
Quick fix:
If the neck is challenging to insert, use a pencil to apply a thin layer of graphite around the cork. This acts as a lubricant, making it easier to attach and remove the neck. Be careful not to overdo it – a light application is sufficient.

2. Octave Key Malfunctions
The octave key is crucial for playing higher notes. If it’s not functioning correctly, students will struggle with their upper register.

3. G# Key Adjustments
The G# key can often be a source of frustration due to its complex linkage with other keys.
Quick fix:
If the G# key isn’t closing properly or is affecting other notes, locate the adjustment screw near the G# key. Using a small screwdriver, make tiny adjustments (we’re talking fractions of a turn) to ensure the key closes fully without interfering with other keys. Test after each adjustment to find the sweet spot.

4. Low Note Troubles
When low notes are stuffy or don’t speak at all, it can be due to various issues, often involving the bell keys or even upper stack keys.
Quick fix:
First, check that the low C#, B, and Bb keys are sealing properly. If they are, and you’re still having issues, surprisingly, the problem might be in the upper stack. Check the palm keys and F/F# keys for leaks, as these can affect low note response due to the instrument’s physics.
Remember, these saxophone repair basics are just the beginning. As you become more comfortable with these quick fixes, you’ll develop an intuition for diagnosing and solving problems efficiently.

When to Seek Professional Help: Know Your Limits
While mastering saxophone repair basics can solve many common issues, it’s important to recognize when a problem requires professional attention. Here are clear indicators that it’s time to consult a repair technician:
1. Multiple pads need replacement or significant regulation
2. Keys are visibly bent or severely misaligned
3. You notice cracks or structural damage to the body
4. After attempting basic adjustments, the problem persists or worsens
5. The instrument has been dropped or suffered a major impact
Attempting repairs beyond your expertise can lead to more extensive (and expensive) damage. When in doubt, it’s always best to consult with a professional.
Essential Tools for Quick Saxophone Repairs
To be prepared for on-the-spot saxophone repairs, consider keeping these tools on hand:
1. Small screwdrivers (flathead and Phillips)
2. Spring hook
3. Pad paper or dollar bills (for checking pad seals)
4. Pencil (for cork lubrication)
5. Small flashlight
Having these tools readily available can make the difference between a quick fix and a student sitting out for an entire rehearsal.
Preventative Maintenance: The Key to Fewer Repairs
While knowing saxophone repair basics is crucial, preventing issues is even better. Encourage your students to:
1. Clean their instrument after each use
2. Store saxophones properly in cases designed for their specific model
3. Handle the instrument with care, especially around delicate mechanisms
4. Regularly check for loose screws or springs
By instilling good maintenance habits, you’ll reduce the frequency of repairs and teach valuable lessons about instrument care.
Empowering Your Students with Saxophone Repair Knowledge
As you become more comfortable with saxophone repair basics, consider sharing this knowledge with your students. Teaching them to identify and potentially fix simple issues not only helps them become more self-sufficient but also deepens their understanding and appreciation of their instrument.
Host a “Saxophone Repair Clinic” where you demonstrate basic troubleshooting and maintenance. This can be an engaging way to teach instrument care while building your students’ confidence in handling their saxophones.
The Impact of Quick Fixes on Music Education
Mastering these saxophone repair basics does more than just keep instruments playing. It:
1. Minimizes disruptions during rehearsals and performances
2. Builds trust between you and your students
3. Saves time and potentially money on minor repairs
4. Allows for more focused and productive music-making
By empowering yourself with these skills, you’re enhancing the overall quality of your music education program and ensuring that your students have more opportunities to play and learn without interruption.
Test Your Saxophone Repair Knowledge
Ready to check your understanding of saxophone repair basics? Take this quick quiz:
1. What’s the first thing you should check if a student complains about sticky keys?
2. How can you quickly lubricate a saxophone neck cork?
3. What tool is essential for checking pad seals?
4. When adjusting the G# key, how much should you turn the adjustment screw?
5. What’s a common cause of low note issues that might surprise you?
(Answers: 1. Check for dirt or debris under the key, 2. Use a pencil to apply graphite, 3. Pad paper or a dollar bill, 4. Fractions of a turn, 5. Leaks in the upper stack keys)
Continuing Your Education in Instrument Repair
The world of saxophone repair basics is vast, and there’s always more to learn. Consider these options for expanding your knowledge:
1. Attend workshops or seminars on instrument repair
2. Connect with local repair technicians for advice or mentorship
3. Explore online resources and video tutorials for advanced techniques
4. Invest in comprehensive repair manuals for reference
The more you know about saxophone repair basics and beyond, the better equipped you’ll be to handle a wide range of issues that may arise in your music program.
Conclusion: Empowering Music Educators Through Saxophone Repair Basics
Understanding saxophone repair basics is an invaluable skill for any music educator. It allows you to quickly address common issues, keeping your students playing and your rehearsals on track. Remember, the goal isn’t to replace professional repair technicians but to handle minor issues efficiently and know when to seek expert help.
By mastering these skills, you’re not just fixing saxophones – you’re enhancing your teaching, empowering your students, and ensuring that the music never stops. Keep learning, stay curious, and watch as your confidence in handling instrument issues grows alongside your students’ musical abilities.
Take Action: Enhance Your Saxophone Repair Skills Today
Ready to take your saxophone repair basics to the next level? Start by creating a repair toolkit with the essential items mentioned in this guide. Then, schedule a “Saxophone Repair Clinic” for your students in the coming weeks. Not only will this reinforce your own skills, but it will also empower your students with valuable knowledge.
For those looking to further their music education journey and access comprehensive resources on instrument care and pedagogy, consider exploring online platforms dedicated to music education. These platforms often offer in-depth tutorials, interactive lessons, and a community of fellow educators to share experiences and advice. One such platform that offers free, high-quality music education resources is Practicing Musician, which provides a wealth of information for both educators and students alike.
Remember, every small repair you master is a step towards smoother rehearsals and more confident students. Start applying these saxophone repair basics today and experience the positive impact on your music program!


Leave A Comment
You must be logged in to post a comment.