As a Viola player, you know that the bow is just as important as the instrument itself. A well-maintained bow is essential for producing the best possible sound and ensuring the longevity of your Viola. One of the most common issues Viola players faces is loose bow hair, which can affect the instrument’s sound quality and playability. In this article, we will guide you through the process of tightening your Viola bow, so you can keep your instrument in top condition.
Common Issues with Viola Bow Hair and How to Identify Them
Before we dive into the step-by-step guide, let us discuss some common issues with Viola bow hair and how to identify them. The most obvious sign of a problem is when the bow hair becomes loose, causing the bow to feel slack and unresponsive. This can happen due to a variety of reasons, such as:
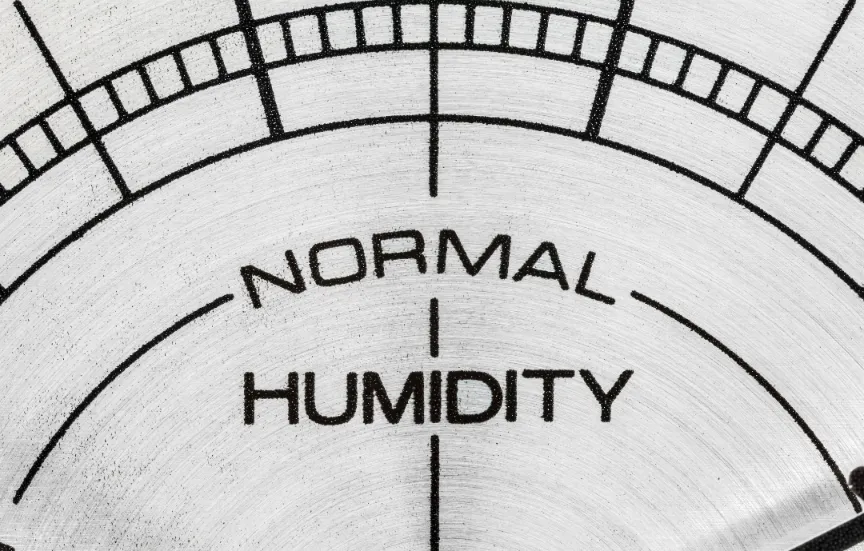
– Changes in humidity: High humidity can cause the bow hair to absorb moisture and stretch, while low humidity can lead to the hair drying out and losing elasticity.
– Excessive playing: Over time, the repeated friction between the bow hair and strings can cause the hair to stretch and become loose.
– Improper storage: Storing your bow in extreme temperatures or failing to loosen the hair when not in use can contribute to bow hair issues.
Another issue to look out for is uneven bow hair tension. If some strands are looser than others, it can affect the bow's balance and make it harder to control. Additionally, if the bow hair is too tight, it can cause the bow to warp or even break, so it is crucial to find the right balance.
Failing to address loose or uneven bow hair can lead to a range of problems, such as:
– Poor sound quality: Loose bow hair can result in a weak, inconsistent tone and difficulty producing certain techniques like spiccato or ricochet.
– Reduced playability: An unresponsive bow can make it harder to control your playing and execute precise articulations.
– Damage to the bow: Over-tightening the bow hair can cause the stick to warp or the tip to break, leading to costly repairs or replacements.
Step-by-Step Guide to Tightening a Viola Bow
Now that you know how to identify common issues with Viola bow hair, let us move on to the step-by-step guide for tightening your bow.
Tools and Materials Needed
Before you begin, make sure you have the following tools and materials:
– Viola bow
– Bow tightening key (usually comes with the bow)
– Soft cloth
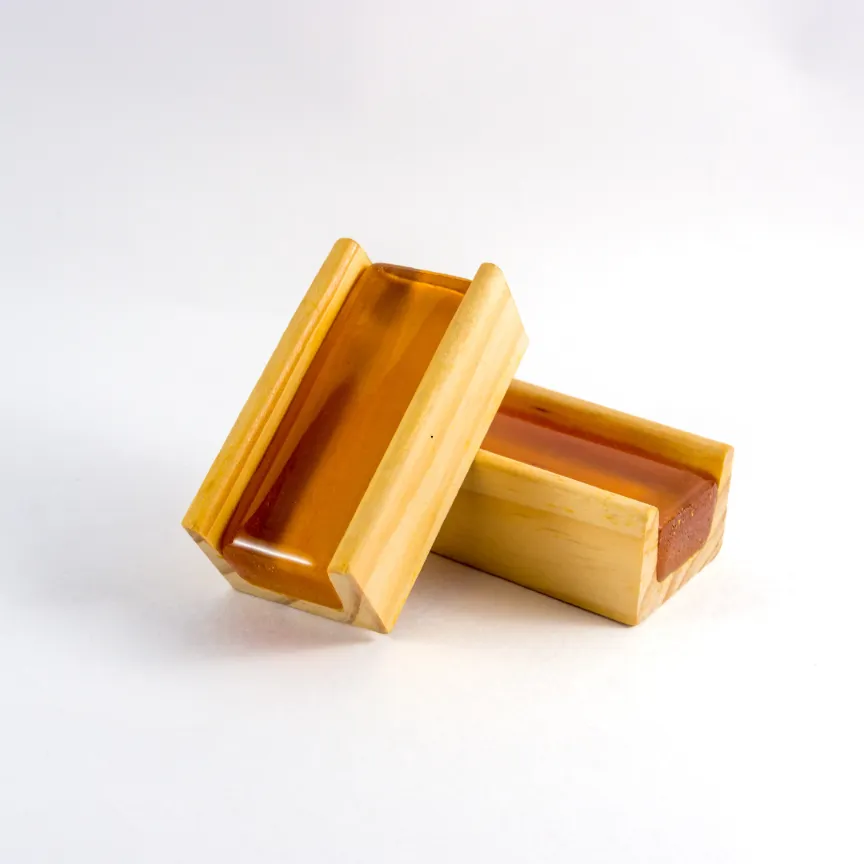
– Rosin (optional)
Detailed Instructions for Each Step
- Loosen the bow hair: Start by turning the bow tightening key counterclockwise to loosen the bow hair. This will give you some slack to work with and make it easier to adjust the tension evenly.
- Clean the bow stick: Use a soft cloth to gently wipe down the bow stick, removing any rosin buildup or dust. This will help you get a better grip on the bow while tightening the hair.
- Adjust the bow hair tension: Begin tightening the bow hair by turning the bow tightening key clockwise. Make sure to turn the key slowly and gradually, checking the tension every few turns. The goal is to achieve an even tension across the entire length of the bow hair.
- Check the bow hair tension: To check the tension, hold the bow vertically with the hair facing you. Gently press the thumb of your free hand against the bow hair at the midpoint between the tip and the frog. The hair should give slightly but not be too slack. If the hair is still too loose, continue tightening until you reach the desired tension.
- Test the bow: Once you have achieved the desired tension, test the bow by playing a few notes on your Viola. The bow should feel responsive and balanced, allowing you to create a clear, consistent sound.
- Apply rosin (optional): If needed, apply a small amount of rosin to the bow hair to help it grip the strings better. Be careful not to over-rosin, as this can lead to a buildup on the strings and affect the sound quality.
Tips for Maintaining Optimal Bow Tension
Now that you know how to tighten your Viola bow, here are some tips for maintaining optimal bow tension:
- Check the bow tension regularly: Make it a habit to check your bow tension before each practice session or performance. This will help you catch any issues early on and prevent them from worsening.
- Store your bow properly: When not in use, always loosen the bow hair and store the bow in a case. This will help prevent the bow from warping or the hair from stretching out due to humidity changes.
- Avoid extreme temperatures and humidity: Extreme temperatures and humidity can affect the bow hair and the bow stick, causing them to expand or contract. Store your bow in a climate-controlled environment whenever possible.
- Re-hair your bow as needed: Over time, bow hair will become worn and lose its ability to grip the strings effectively. When this happens, it is time to have your bow re-haired by a professional. Most players recommend re-hairing their bows every 6-12 months, depending on usage.
I remember a time when I neglected to properly maintain my Viola bow. After a particularly humid summer, I noticed that my bow was feeling sluggish and unresponsive. Upon closer inspection, I realized that the hair had become extremely loose and was no longer gripping the strings effectively. It took me a while to get the tension exactly right again, but once I did, the difference in my playing was remarkable. Since then, I have made bow maintenance a regular part of my routine, and it has helped me keep my Viola sounding its best.
Conclusion
Proper bow maintenance is essential for every Viola player who wants to produce the best possible sound and extend the life of their instrument.
By following the step-by-step guide and tips outlined in this article, you can learn how to fix Viola bow hair, address loose bow hair issues, and tighten your Viola bow like a pro.
Remember to check your bow tension regularly, store your bow properly, and re-hair it as needed to keep it in top condition.
If you are looking for more guidance to help you master your Viola playing and maintenance skills, consider checking out Practicing Musician.
They offer a comprehensive online learning platform with video tutorials, sheet music, and assignments tailored to Viola players of all levels.
With Practicing Musician, you can learn at your own pace and access expert guidance on instrument care and maintenance, helping you become a well-rounded Viola player.



Leave A Comment
You must be logged in to post a comment.