This blog is generated from material covered in the PM professional development session: “DIY Instrumental Repair Hacks” presented by Randy Beardon
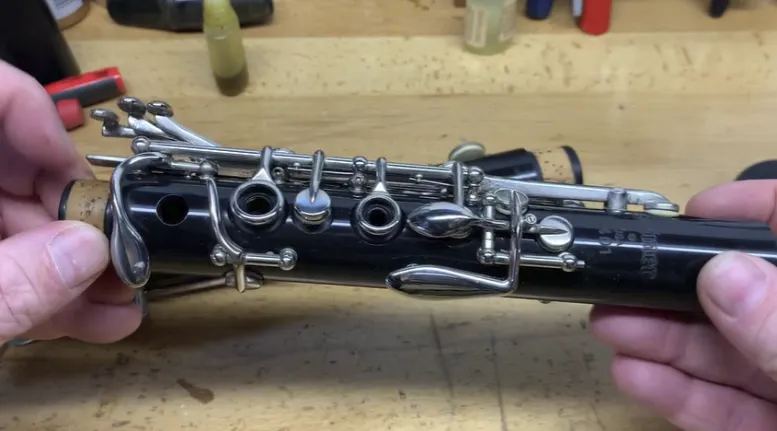
As a clarinetist, you know that proper instrument maintenance is key to producing beautiful sound and avoiding frustrating disruptions during performances. One common issue you may encounter is a fallen pad, which can render your clarinet unplayable until repaired. Learning how to replace clarinet pads quickly and efficiently is an essential skill every clarinetist should master. This step-by-step clarinet pad replacement tutorial will show you how to handle this emergency repair yourself!
The DIY Emergency Clarinet Pad Replacement Process
Imagine this scenario: you’re backstage, minutes away from a crucial audition or performance, and you discover that a pad has fallen out of your clarinet. Panic sets in as you envision your chances of success slipping away. But fear not! With a few simple tools and the know-how from this clarinet pad replacement guide, you can replace that pesky pad and get back to playing in no time.
Materials Needed for Clarinet Pad Repair
To perform a DIY emergency clarinet pad replacement, you’ll need:
1. A micro torch or lighter (use caution – see tips below)
2. A thin tool, like a small screwdriver, to adjust the pad placement
3. Spare 10mm clarinet pads (for emergency upper joint repairs)

Step-by-Step Instructions for Replacing Clarinet Pads
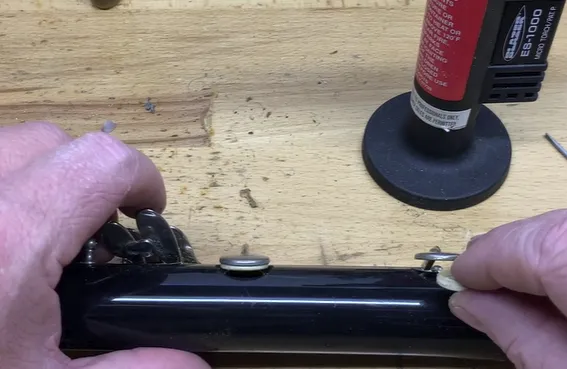
1. Retrieve the pad (if possible) and examine it for any damage. If it’s in good condition, proceed with the clarinet pad repair.
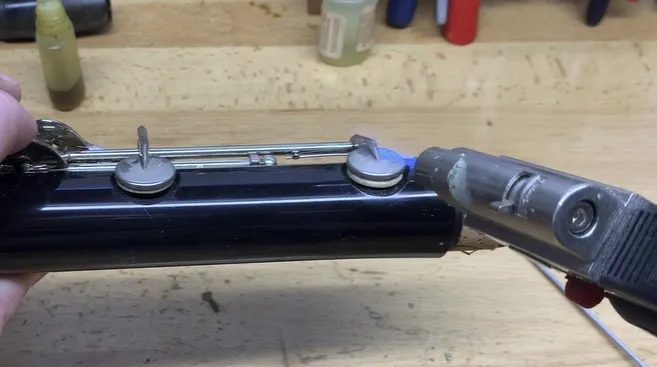
2. Using your micro torch or lighter, carefully heat the pad cup from the side. Be sure to apply heat evenly around the cup.
Caution: Overheating can damage the clarinet. Use the lowest effective heat and avoid direct flame contact.

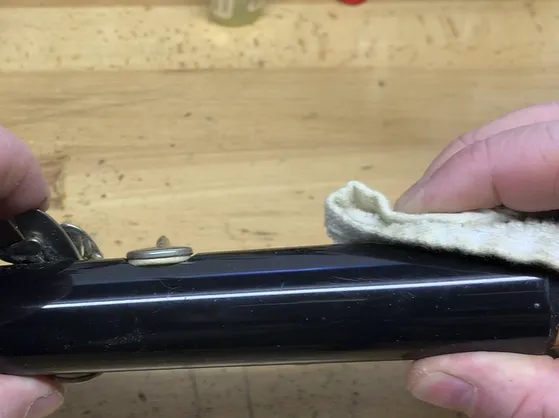
3. Place the pad into the heated cup, making sure it’s centered and level. Gently press the pad with your finger to ensure it adheres.

4. Allow the pad to cool in place for 20-30 seconds so the adhesive can set, securing the pad.

Key Tips for Successful Clarinet Pad Replacement
While replacing a clarinet pad is relatively simple, keep these important things in mind:
1. When replacing pads on the bottom joint, it’s best to replace the whole set or use the old pad to maintain regulation. Mixing old with new can cause unevenness. Individual replacements are okay for the upper joint’s more consistently sized 10mm pads.
2. To be prepared for emergencies, keep a few spare 10mm pads in your case for quick upper joint repairs. For lower joint pads, it’s best to have a complete replacement set on hand.
3. When in doubt, consult a professional. While this guide shows how to replace clarinet pads yourself, some repairs are best left to trained technicians, especially on higher-end instruments. If you’re unsure or the pad doesn’t seem to fit right after replacement, take your clarinet to a qualified repairer.
Clarinet Pad Replacement FAQ
Q: Can I replace clarinet pads with any adhesive?
A: It’s best to use the proper heat-activated pad cement made for musical instruments. Some household adhesives may damage the clarinet.
Q: How often should I replace my clarinet pads?
A: Pads can last years with proper care, but replace them if you notice leaks, unevenness, or excessive wear. An annual professional check-up is recommended.
Q: Can I replace all my clarinet pads myself?
A: While you can replace pads individually in an emergency, a full re-pad is an intensive process best handled by a professional technician to ensure proper seating and regulation.
Conclusion: Mastering Clarinet Pad Replacement
Replacing a fallen clarinet pad may seem daunting at first, but with practice and the right tools, you can master this essential maintenance skill. By following the simple clarinet pad replacement steps outlined above, you’ll be able to handle many pad emergencies with confidence and get back to playing your best.
Remember, regular professional maintenance is still crucial. If you’re eager to expand your clarinet skills and knowledge, check out Practicing Musician’s expert online courses. You’ll find tutorials on everything from basic maintenance to advanced techniques to help you become a well-rounded, self-sufficient clarinetist. Visit Practicing Musician now to see how their courses can enhance your clarinet journey!
Now that you’ve added clarinet pad replacement to your skill set, you’re empowered to keep making beautiful music, even when the unexpected arises. So grab your clarinet and play on!


Leave A Comment
You must be logged in to post a comment.