This blog is generated from material covered in the PM professional development session: “DIY Instrumental Repair Hacks” presented by Randy Beardon
“Music Teacher’s Toolkit: Essential Instruments for Quick Repairs”
As a music educator, your responsibilities extend beyond teaching notes and rhythms. You’re also the first line of defense when it comes to keeping instruments in playing condition. Having a well-stocked music teacher’s toolkit for essential instruments and quick repairs can mean the difference between a successful rehearsal and a frustrating pause in the music. In this comprehensive guide, we’ll explore the must-have tools every music teacher should have on hand for swift instrument maintenance and repairs.
Why Every Music Educator Needs a Repair Kit
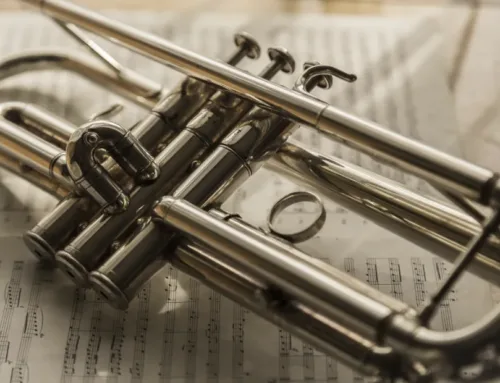
Imagine you’re in the middle of a crucial rehearsal before a big performance, and suddenly a student’s clarinet key pops off. Or perhaps it’s concert night, and a trumpet’s valve is sticking. These scenarios are all too common in the world of music education, but with the right tools at your fingertips, you can turn potential disasters into quick fixes.
Having a music teacher’s toolkit for essential instruments and quick repairs not only saves time and money but also teaches students the importance of instrument care and maintenance. It empowers you to handle minor issues on the spot, keeping the music flowing and your students engaged.

Must-Have Tools for Your Emergency Repair Arsenal
Let’s dive into the essential tools that should be in every music teacher’s toolkit for quick repairs. These items are relatively inexpensive but can be invaluable when you need them most.
Pliers and Tweezers: Your New Best Friends
Pliers are versatile tools that can help with a variety of repairs. Here are the types you should include in your kit:
1. Needle-nose pliers: Perfect for pulling out small rods and reaching tight spaces.
2. Regular pliers with teeth: Great for gripping and removing stubborn parts.
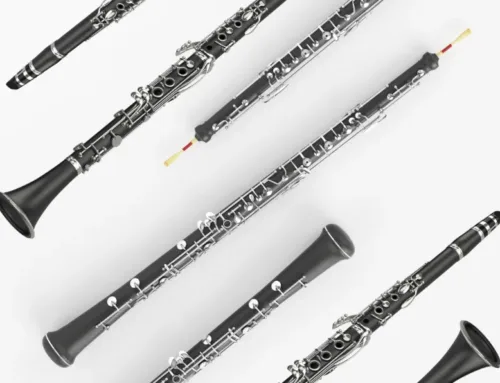
3. Flat duck-bill pliers: Ideal for pulling out old clarinet tenon cork without damaging the instrument.
Don’t forget a pair of long tweezers – they’re essential for manipulating small parts and reaching into narrow spaces within instruments.
Screwdrivers: Tiny but Mighty
A set of screwdrivers in various sizes is crucial for your music teacher’s toolkit. From adjusting flute mechanisms to tightening loose screws on saxophones, you’ll need:
1. Standard-size screwdrivers for larger adjustments
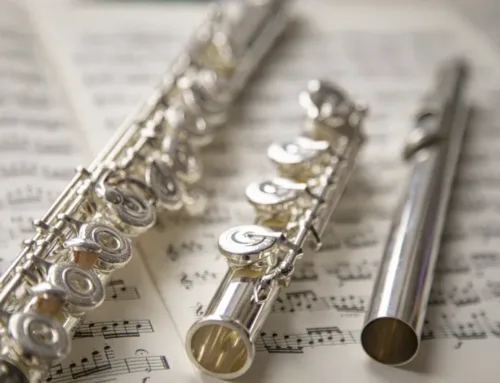
2. Micro screwdrivers for tiny screws found in flutes and oboes
Remember, using the correct size screwdriver prevents stripping screws and damaging the instrument.
Adhesives and Lubricants: Keeping Things Together
No repair kit is complete without the right adhesives and lubricants. Here’s what you need:
– Tacky glue: Perfect for reattaching felt on saxophones and other instruments
– Cork grease: Essential for smooth joint connections on woodwinds
– Valve oil: A must-have for brass instruments
– Penetrating oil: Helps loosen stuck parts without damaging the instrument
– Shellac: Useful for saxophones, bass clarinets, and bassoons
– Glue stick: For quick, temporary fixes
Advanced Tools for the Ambitious Educator
If you’re ready to take your repair skills to the next level, consider adding these advanced tools to your kit:
Heat Guns and Leak Lights: Taking It to the Next Level
1. Heat gun: A safer alternative to an open flame for pad work. Look for one with adjustable temperature control, as different instruments require different heat levels.
2. Leak lights: These LED lights help you identify air leaks in woodwind instruments. They come in different sizes for various instruments:
– Smaller lights for clarinets, flutes, and piccolos
– Longer lights for saxophones and bass clarinets
While these tools require more skill to use effectively, they can significantly expand your ability to perform more complex repairs.

Fixing a Sticky Saxophone Key
1. Identify the sticky key
2. Apply a small amount of key oil to the pivot point
3. Work the key back and forth to distribute the oil
4. Wipe away any excess oil
5. Test the key for smooth movement
Tips for Successful Instrument Repairs
Now that you have your music teacher’s toolkit stocked with essential instruments for quick repairs, here are some tips to ensure success:
1. Start small: Begin with simple repairs and work your way up to more complex issues as you gain confidence and experience.
2. Know your limits: While many repairs can be done in-house, recognize when an instrument needs professional attention.
3. Keep organized: Use a toolbox or case to keep your repair kit organized and easily transportable.
4. Practice preventive maintenance: Teach your students basic instrument care to prevent issues before they occur.
5. Stay updated: Attend workshops or watch online tutorials to learn new repair techniques and stay current with best practices.
6. Document your repairs: Keep a log of the repairs you perform to track common issues and improve your skills over time.
7. Invest in quality tools: While it may be tempting to buy the cheapest options, investing in high-quality tools will save you money and frustration in the long run.
8. Create a repair station: Designate a well-lit area in your classroom for quick repairs, equipped with your toolkit and a sturdy work surface.
9. Teach as you repair: Use repair moments as teaching opportunities, explaining to students what you’re doing and why it’s important.
10. Stock spare parts: Keep commonly needed items like cork, pads, and springs on hand for quick replacements.
Interactive Repair Challenge
Test your knowledge! Can you match the repair tool to the instrument issue? Take our quick quiz:
1. Which tool would you use to tighten a loose saxophone neck screw?
2. What’s the best lubricant for a sticky trumpet valve?
3. How would you fix a loose pad on a flute?
(Answers: 1. Screwdriver, 2. Valve oil, 3. Shellac)
Conclusion: Empowering Music Educators
Having a well-equipped music teacher’s toolkit for essential instruments and quick repairs is more than just a convenience – it’s a vital aspect of effective music education. By being prepared to handle minor repairs, you ensure that your students’ musical journey isn’t interrupted by easily fixable issues.
Remember, the goal isn’t to replace professional repair technicians but to handle common, minor problems that can disrupt your teaching. With practice and the right tools, you’ll be able to keep the music playing smoothly, fostering a positive learning environment where students can focus on their musical growth.
As you continue to develop your repair skills, consider exploring additional resources to enhance your music education toolkit. Online platforms like Practicing Musician offer comprehensive music education methods for various instruments, which can complement your hands-on repair skills and provide a well-rounded approach to music education.
Take Action: Build Your Music Teacher’s Toolkit Today!
Don’t wait for the next instrument emergency to catch you off guard. Start building your music teacher’s toolkit for essential instruments and quick repairs today. Here’s what you can do:
1. Make a list of the tools mentioned in this article
2. Prioritize which tools you need most urgently
3. Set a budget for your toolkit
4. Start purchasing tools, beginning with the essentials
5. Organize your toolkit in a portable container
6. Practice using your new tools on minor repairs
By taking these steps, you’ll be well on your way to becoming a more confident and prepared music educator. Your students will benefit from uninterrupted learning, and you’ll have the satisfaction of knowing you can handle whatever instrument challenges come your way.
Ready to take your music education to the next level? Explore Practicing Musician for additional resources and innovative teaching methods that pair perfectly with your new repair skills. Together, let’s keep the music playing!
Expanding Your Instrument Repair Skills
Consider expanding your repair skills to other instruments and common issues using the Music Teacher’s Toolkit:


Leave A Comment
You must be logged in to post a comment.