Proper violin bow tension is a fundamental aspect of violin care and a key factor in producing the best possible sound. Learning to adjust your bow correctly is an essential skill for beginner and intermediate violinists. A bow that is too loose or too tight can negatively impact your tone, articulation, and overall performance. In this guide, we will walk you through the process of tightening your violin bow, helping you maintain your instrument and elevate your playing.
Parts of the Bow Involved in Adjusting Tension
Before diving into the tightening process, let us familiarize ourselves with the key parts of the bow involved in adjusting tension:
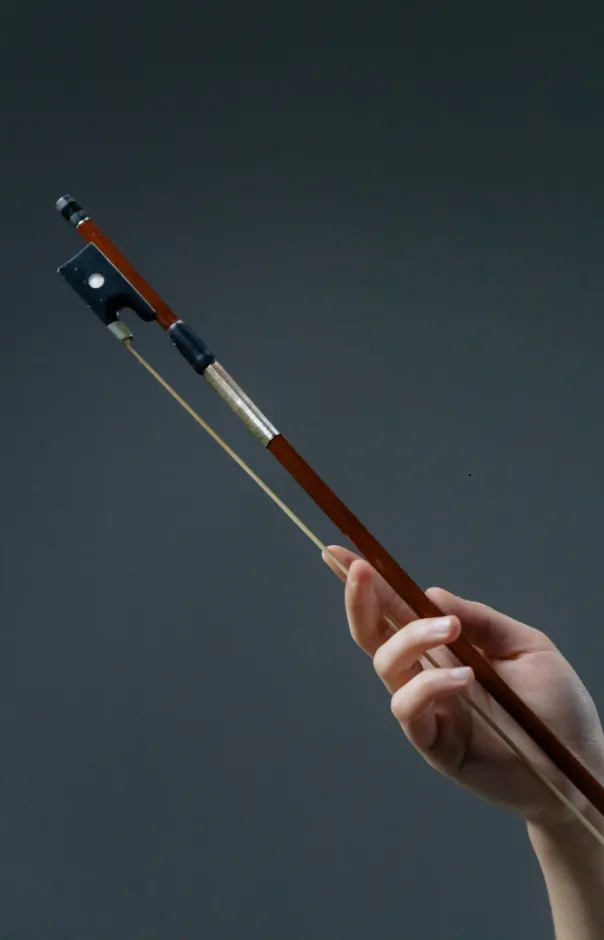
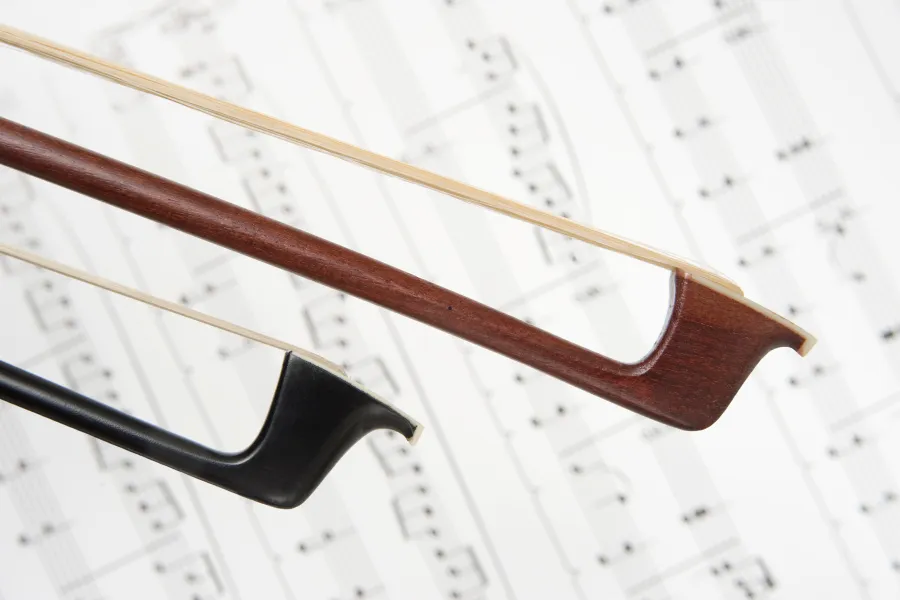
– **Frog**: The part of the bow that you hold, which houses the mechanism for tightening and loosening the bow hair.
– **Screw**: Located at the end of the frog, this metal screw controls the tension of the bow hair.
– **Stick**: The long, wooden part of the bow that extends from the frog to the tip.
– **Hair**: The horsehair strung between the frog and the tip, which rosin is applied to create friction against the strings.
When to Tighten or Loosen Your Bow
Knowing when to adjust your bow tension is just as important as knowing how to do it. Here are some signs to look out for:
Signs Your Bow Needs Tightening
– The bow hair appears loose and saggy
– You’re not getting enough volume or articulation when playing
– The bow feels less responsive than usual
Signs Your Bow Needs Loosening
– The bow hair is extremely taut and close to the stick
– You’re experiencing a scratchy, harsh sound
– It is difficult to control the bow while playing
Step-by-Step Instructions for Tightening Your Bow
Now that you know when to adjust your bow tension, let’s go through the process of tightening your bow step by step:
Step 1 – Identify the frog and screw
Locate the frog at the end of the bow and find the metal screw that protrudes from it. This screw controls the tension of the bow hair.
Step 2 – Turn the screw
To tighten the bow, turn the screw clockwise using your fingers. Turn the screw in small increments, about a quarter turn at a time. As you turn the screw, you will notice the bow hair becoming tighter and moving away from the stick.
Step 3 – Test the tension
After each quarter turn, gently pluck the bow hair to gauge the tension. You want the hair to be taut but not overly tight. According to violin experts, a well-tightened bow will have about a pinky finger’s width of space between the hair and the stick at the midpoint of the bow.
Step 4 – Fine-tune as needed
Continue turning the screw and testing the tension until you have reached the desired tightness. If you accidentally overtighten the bow, simply turn the screw counterclockwise to loosen it slightly.
**Tip**: To develop a feel for proper tension, pay attention to how your bow responds while playing. A well-tightened bow will provide good control and articulation without feeling too stiff or too loose.
Risks of Improper Bow Tension
Maintaining the right bow tension is essential for the longevity of your instrument and your growth as a violinist. Here are some risks associated with improper bow tension:
– **Overtightening**: An overtightened bow can cause the stick to warp or even break under excessive pressure. It can also lead to a scratchy, unpleasant sound and make it harder to control the bow while playing.
– **Under tightening**: A bow that is too loose will produce a weak, inconsistent sound and may not respond well to different bowing techniques. Loose bow hair can also touch the stick while playing, causing a “thwacking” noise.
By following the steps outlined in this guide and regularly checking your bow tension, you can avoid these issues and keep your violin sounding its best.
Conclusion
Tightening your violin bow is a simple but essential skill for any violinist. Proper bow tension is a crucial component of overall violin maintenance and care. By understanding when and how to adjust your bow tension, you will be able to produce a better sound, improve your playing technique, protect your instrument from damage, and progress in your violin studies. Remember to adjust gradually and always aim for taut but not overly tight bow hair.
As you continue your violin journey, make sure to explore other key aspects of instrument care and playing technique. For more expert guidance, check out the comprehensive online courses and resources offered by Practicing Musician. Here are a couple of their helpful videos on getting your violin ready to play and put away:
Getting To Know Your Violin
Getting Your Violin Ready To Put Away




Leave A Comment
You must be logged in to post a comment.